This week, we're going to look at not so much a character, more a scene by the master of Heromachine comic covers; RobM.
Incoming Message

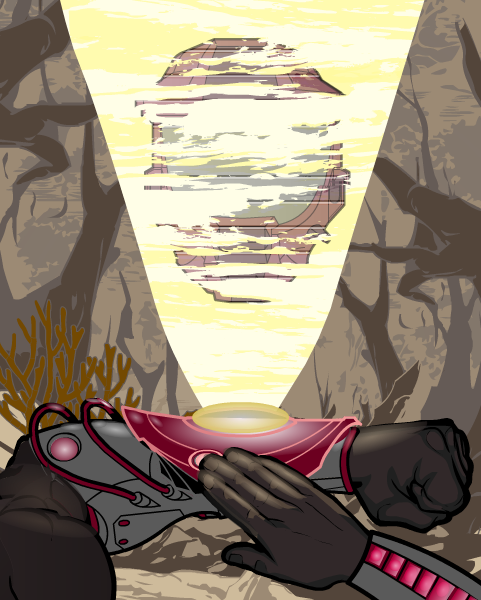
Now, the main thing that attracted me to this piece was the lighting, especially on the wrist projector and the right hand. There are some good hints here on how to get really bold lighting effects, so I asked Rob about how he did them and hopefully he won't mind if I put up here what he said in reply:
"The wrist protector is one item from ItemRight Polearms with one gradient background shape masked to it and another laid on top. The masked gradient background shape has 25% second color and 0% line color. The pink glowing line color on the wrist protector is a result of the 25% darker magenta red gradient combining with the item's 65% gray line color. Then there's a second gradient background shape (the brighter gradient under the yellow disk) at 50% x 20% size laid on top.
The right hand is actually two hands. I masked the bottom portion with the thumb to an insignia so that I could use the darker prime color on the hand's under side. The layer below is a full hand where I used a lighter color for the prime color. Then I laid gradient background shapes over each finger at strategic places with the prime and second colors at 50%. It's tough to do shading on hands because masking works differently for hands than it does for other items."
Whilst these might be the most striking aspects of the picture, it wouldn't be half as good with out some of the finer details, such as the glow on the glove item underneath and to the side of the projection (especially on the wires, which can be very easy to overlook).
Also the projection its self is very well thought out. By a combination of a slightly transparent main focus (the helmet) along with the horizontal line effect and the clouds from the background items (masked to the beam) gives a very good impression of static interferance as usually seen in sci-fi war hologram communications.
Finally we come to the background. The best thing about this is that it doesn't distract attention from the main focus of the piece in the foreground. By using earthy, dull tones and a lighter than black line colour, it contrasts with the clear, bold and precise foreground to give a distinct feeling of depth to the picture and suggest a murky, mysterious and dirty world beyond what we can see.
Very well executed.