Hi all, with big thanks to HeroMachiner Eric Bowling, here’s how you can use HeroMachine outside of your browser. Adobe has said they’re going to be force uninstalling the Flash Player (the standalone player basically) but I don’t know that applies to this particular version.
Basically you download a local Flash Player application, then put in the URL for a .swf file (a compiled Flash object, which is what HeroMachine uses) and it plays. I’ve tried it on my Mac with HM3 and HM2 and it seems to work like a champ. You’ll still need an Internet connection but if this goes well I may bundle up the files and make them available online so you could truly run it all locally. We’ll just have to see, I don’t want to sell people something and then BAM Adobe force uninstalls the Flash Players and it no longer works.
Anyway, the article explaining how to get the Standalone Flash Player Debugger is at https://www.howtogeek.com/438141/how-to-play-adobe-flash-swf-files-outside-your-web-browser/ – install the one relevant to your Operating System.
Once the Flash Player Debugger is installed per the instructions in that article, launch the Flash Player Debugger and go to “File -> Open Location”. This is where you type in the URL to a .swf file. Do not download the .swf file to run from your hard drive, that will not work, you must use “Open Location” and put in one of the URLs below! Here are the ones for HeroMachine so you can just copy and paste:
For fun, here are the URLs for some of the hardly-ever-used versions:
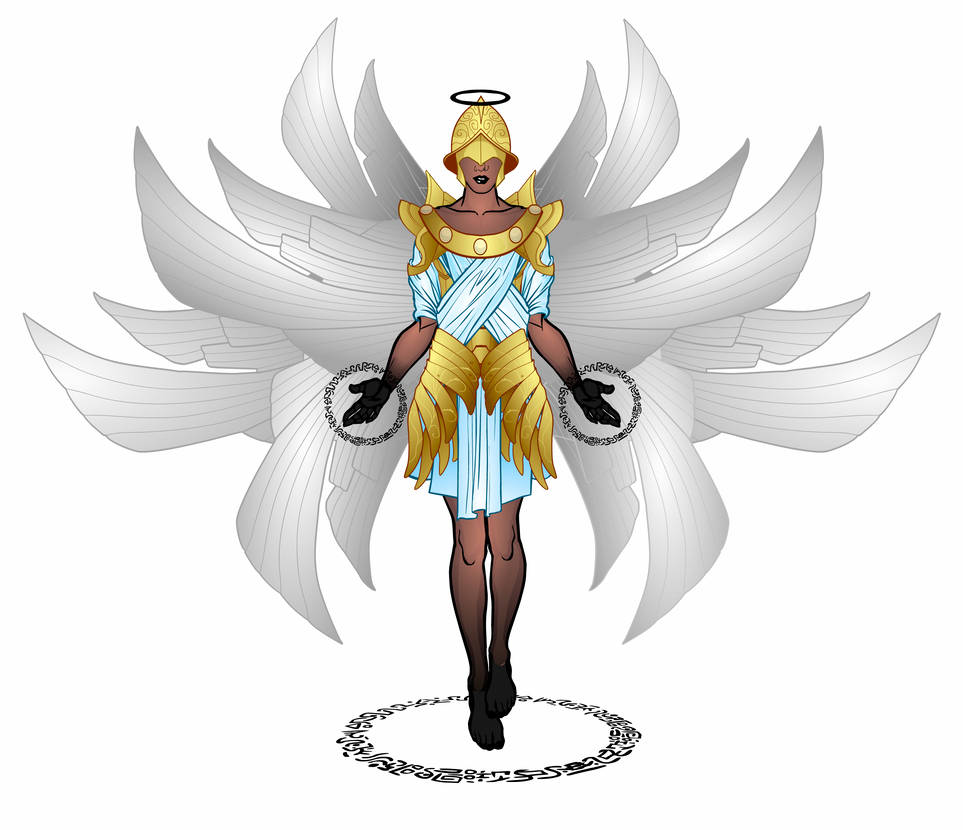
CAVEATS: The “Export as an image” function in HM3 will NOT work. Saving as a text file will.
I think that’s pretty much it. Let me know if you run into issues with this, though honestly, there’s not a lot I can do since I can’t edit the source files any more and I can’t control what Adobe does with their players.


 Three middle-aged nerds (including yours truly!) review all of the MCU movies in chronological order. Short, funny, and full of good vibes, check it out and let us know what you think!
Nerdmudgeon.com
Three middle-aged nerds (including yours truly!) review all of the MCU movies in chronological order. Short, funny, and full of good vibes, check it out and let us know what you think!
Nerdmudgeon.com