

Hey everyone, I know it's been a while. It's been a long month, to say the least. But, in the interest of getting things back to normal and getting back in the groove, I've been working on Comic-Con costume stuff. Today we're going to go over the initial parts of building the pauldrons and upper arm pieces as well as what will hopefully become a Black Soulstone. So let's get to it! I'm just going to go through the steps I took for the build. It's probably not the only way and might not even be the best way, but it's what I did. Post is image-heavy.
Pauldrons
Okay, so for reference, here is what we are looking at:
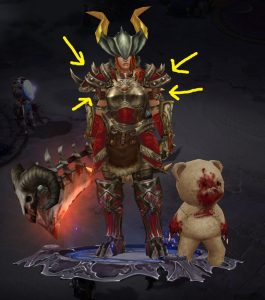
1. So, to start off, the first thing I did was get lots of screenshots in game from as many angles as possible. Then we have an idea of what we need things to look like then we start to plan. I was initially going to draft a rough sketch of what they would look like so I could figure out what pieces I would need but I ended up not doing that and just starting on patterning.
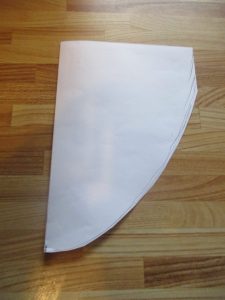
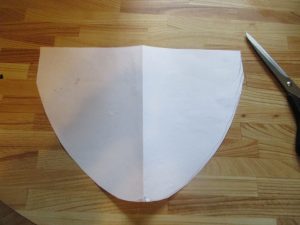
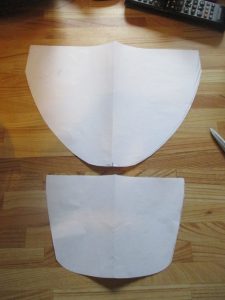
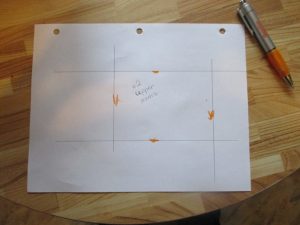
2. Patterns. Okay, I'm not the best pattern-maker. Mostly because I tend to eyeball them with only superficial measurements. I like to think I've improved since my first attempt and am getting better at it. Once I took measurements of how big the pauldron should be, I drew out half the pattern on a folded piece of paper. This way, when you cut it out, it's actually symmetrical. I did this for all base pieces I would need.
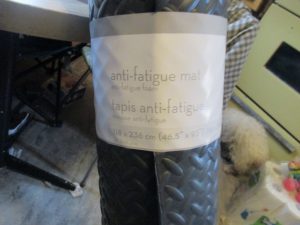
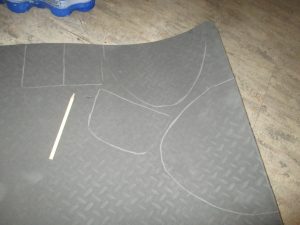
3. The next thing was to transfer it to the foam. I bought a big roll of EVA foam in the form of an anti-fatigue mat for this. I believe it's 1/4 inch thick. I got mine at Giant Tiger, but you can get them from lots of places. I just used a light colored pencil crayon to trace it out and that worked well.
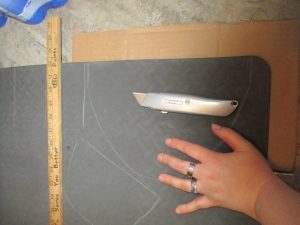
4. Now we cut! A sharp blade is a must to keep the edges from getting ragged. I used my fancy-pants exacto knife. Also, cardboard underneath to protect both your floor and your blade. Otherwise, it's pretty self-explanatory.
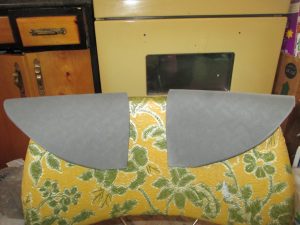
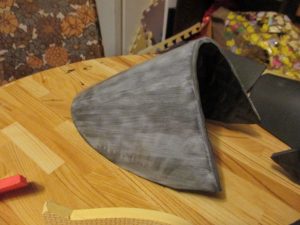
5. Shaping! If you have such a thing as a heat gun you can use it for this. If you're like me and you don't, then your stove works just as well (either way I like to open the windows and turn on the fan when I do). Turn on the element and let it get hot then you just hold the foam over. You can feel once it gets hot enough because it starts to feel softer and more pliable. Bend it and work it as you hold it over the heat and once it's ready you can either put it into shape with your hands or an object. Once I'd gotten the shoulders into more or less the right shape I stuck them over the back of a kitchen chair to cool. If the shape isn't right, just heat them back up and try again. Foam is a rather awesome and forgiving medium in that respect. Either way, once it cools it will hold that shape.
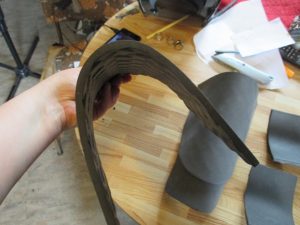
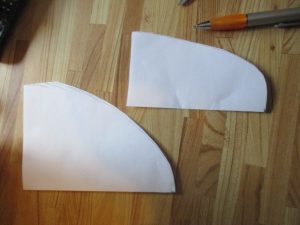
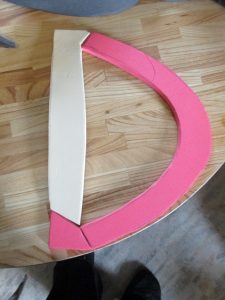
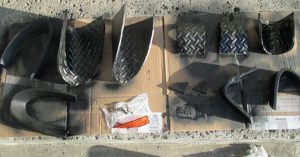
6. Additions! I cut out the pieces that would be used to build up the pauldrons so that I could shape all this together. For this, I used some other leftover foam I had from last year's Wonder Woman build as I needed some pieces to be thicker than the base pieces and some to be thinner, so it worked out well. To make sure they would fit with the base pieces, I used the paper pattern I had already made and cut that instead of making new patterns.
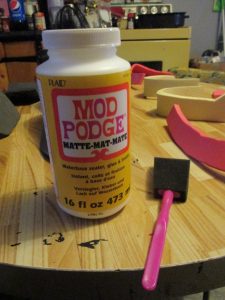
7. Seal! There are a lot of different options for sealing your foam. My sealer of choice is Mod Podge. I used the spray stuff last year but I've gone back to the liquid version. I just like it better. I also use a sponge brush instead a bristle brush. I find it goes on smoother that way. I did three coats on the outside and two on the underside. On my first set of armor (Storm Trooper) I think I did five coats but I didn't seem to need it here. Use your own discretion. As long as you don't have any bubbles and pits in the foam from it soaking it, you should be good.
8. Primer! This is as far as I've gotten. In fact, I primed these pieces earlier tonight. I used black Rustoleum paint and primer. That's my base. After this, hopefully tomorrow, I'll look at starting to paint. And we'll go over all the steps for paint, weathering, and finishing, don't worry!
Black Soulstone
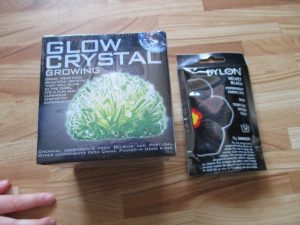
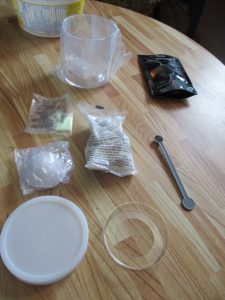
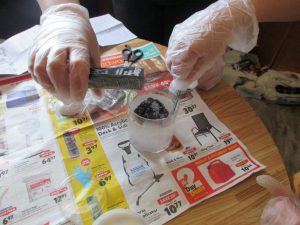
One prop that we wanted for our costumes, especially my daughter's Leah costume, was a Black Soulstone. It's a game item that becomes quite important and ties into her character and her eventual fate. So the idea we had was to get a crystal growing kit, which the kids like anyway, and essentially grow our own. The problem with this is that these kits come in fun colors, not black. A quick internet search gave us the idea to try and add dye to a regular white crystal. So we've attempted an experiment. We bought a glowing crystal kit from Toy Masters (an awesome local toy store) and a packet of black dye (food coloring won't work here). We mixed up the solution as instructed and added a little of the dye to it. Will it work? We don't know. But it'll be interesting to see how things progress and we'll keep you posted.

Well, there you have it! This post actually ended up being a lot longer than I anticipated so if you've made it here to the end, thank you! And, of course, as things continue I will be keeping you up-to-date on our progress. Until next time!
