Here is the 4th and Final ( at least for the time being ) installment of Suleman's Tutorials. Look for it after the jump below.
I am assuming you know the basics of masking and shading. If not, check out my tutorial here:
How to get started with basic shading in HM3We'll be focusing on shadows/depth, for now!
What you want for just about all your shading needs is this particular item in Patterns:
Set color1 to white, alpha 0
Set color 2 to black, alpha varies on darkness of shadow
Set linecolor to e.g. red, so you can see where you've applied shading. This is important when you're playing with multiple layers! You don't want a character's body shading appear on top of their clothes! We'll remove those lines later.
Place it on top of some object you want to add shading to and Mask it on.
If you want more than one "shadow" on t
We're going with a forward-facing head without any rotations or such, for now. I like to start out with a a face item as reference for where to place eyes, noses, eyebrows and mouths later. Otherwise, you're gonna have to improvise that and the results can be... awkward.
What we see here is a default head and face. The combination does not look great. The face is all smushed in the middle, with an enormous chin.
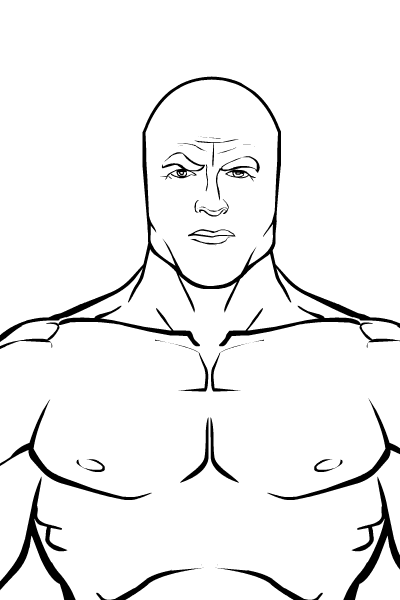
Let's adjust the proportions a little. I typically widen the head somewhat and adjust the face until it starts looking decent. I'm not a fan of heads that look like they continue seamlessly from the neck. So my characters' heads are typically a bit wide. I also place ears on the picture and adjust their size and location until they look natural.
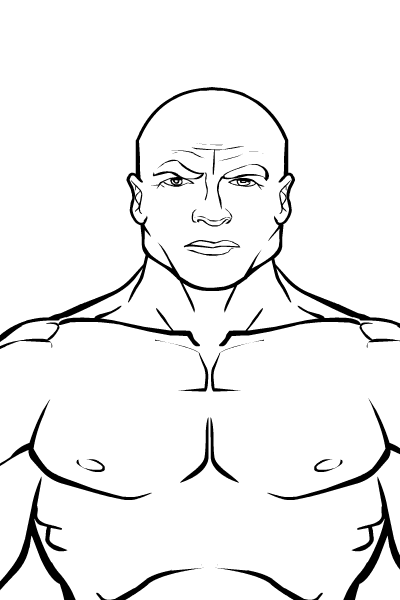
I proceed to place eyes, a nose and a mouth on top of the ones on the face item. That way, they are about the right shape and size and located at the correct part of the head.
However! Sometimes I like the facial features on the face item! In that case, I just mask the features I like to an Insignia item, thus only keeping those particular ones. In this case, I like the big nose on the Face item, so I Mask it on a triangle that only covers that part of the face.
In order to track which item is which, it's good to use temporary colors! I use very bright blues and reds. Remove the colors when you feel you're read with them.

I proceed to place eyebrows on the picture. These default locations aren't quite good enough. Eyebrows are important for determining the design's expression and character. Find good positions, sizes and rotations!
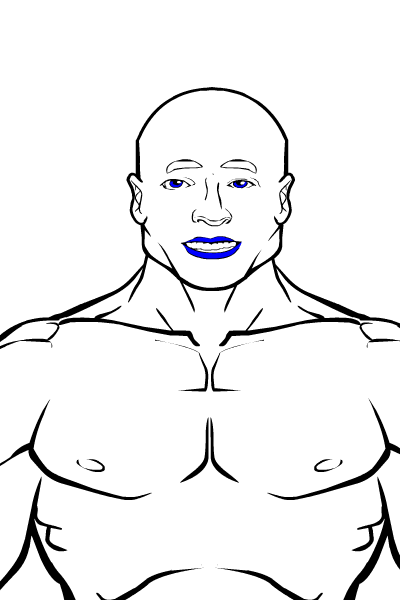
I used the eyebrows to give this guy a cocky look.
From the Faces category, I find forehead wrinkles and undereye wrinkles. These will initially look stupid, but will make your character's face look more real. Don't forget to adjust their size, location and rotation to match the rest of the items (e.g. eyebrows).
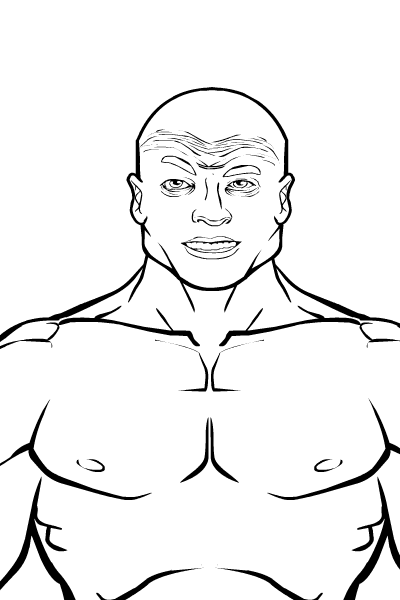
I adjust the transparency of the wrinkles:
Color1 alpha 0
Color2 alpha 0
Line Color alpha 5-30, depending on how old the character needs to look, and what their skin tone will be. You can always adjust these later.
I also choose a haircut for the character around this point, if I haven't already. This guy gets a very basic haircut. Personally, I like longer, multi-part haircuts, but this will do for now. Adjust the hair's size, rotation and location until it fits the head size.
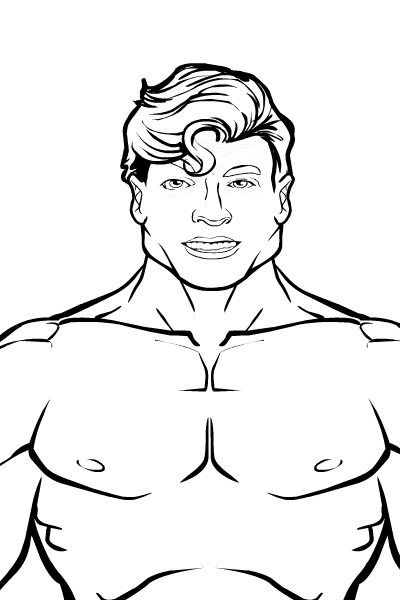
Since we're making a MANLY MAN, I also want to give him some stubble. The item looks sort of silly as-is, though, it covers the jawline. We need to do some work.
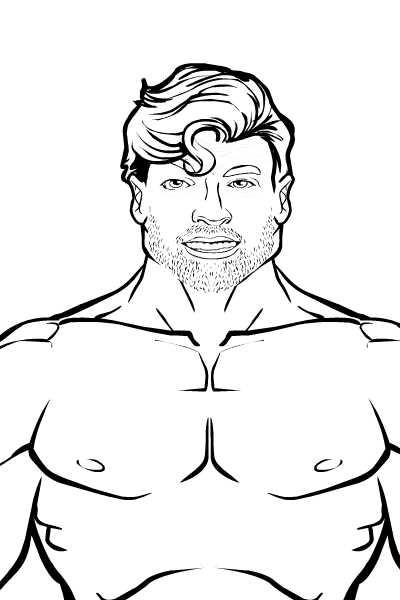
In order to make the stubble look better, let's adjust it to the head size and Mask it to the head.
The stubble's colors are:
Color1: Alpha 0
Color2: Alpha 0
Line Color: Same as hair color, generally
Adjust alpha based on length and heaviness of stubble.
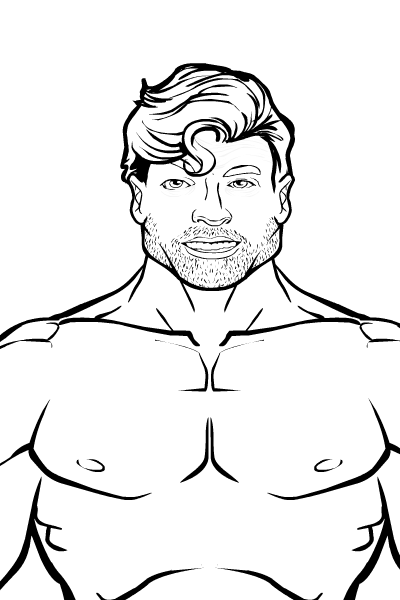
At this point, if I haven't already, I pick colors for everything. The skintones should not clash too much! Pick them carefully, maybe even try custom colors.
If the hair looks like it casts a shadow on the face, I turn another hair item into a shadow.
Make a copy of the same hair (or another appropriate hair item), place it below the original hair in layers and adjust its size and location and change the colors:
Color1: Black, alpha 10-50
Color2: Black, alpha 10-50
Line color: Black, alpha 0-30
In this case, the character's forelock casts a shadow on his forehead.
He is also a brown-haired caucasian with blue eyes. Different skin tones function a bit differently for shading purposes, but we won't be getting into that here.
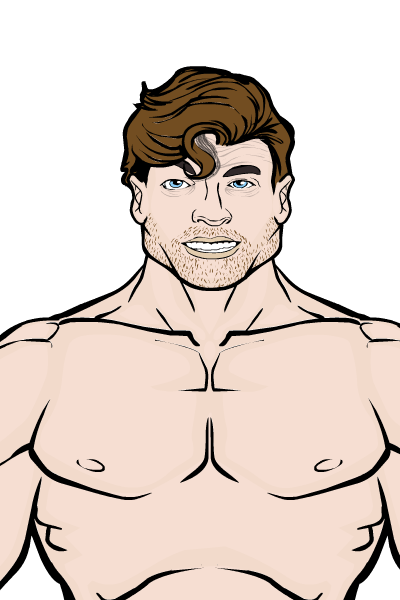
At this point, I start the shading process. I begin with shadows that do not need masking. Let's go over the shading decisions.
(Hair -> Forehead shadow)
Brows -> Shadows on eyes (Also, eyes deep in the head should have darker shadows)
Nose -> Upper lip shadow
Lower lip -> Shadow between the lips and the chin
Chin -> Neck shadow
(Beard -> Neck shadow)
Place the shading circles where necessary, keep the line colors, for now.

Let's start shading the hair now. Remember: Items in the foreground (closer to the viewer) are brighter, items in the background are darker. This gives even the hair a sense of depth!
When you're pleased with the locations, Mask the shadows on.
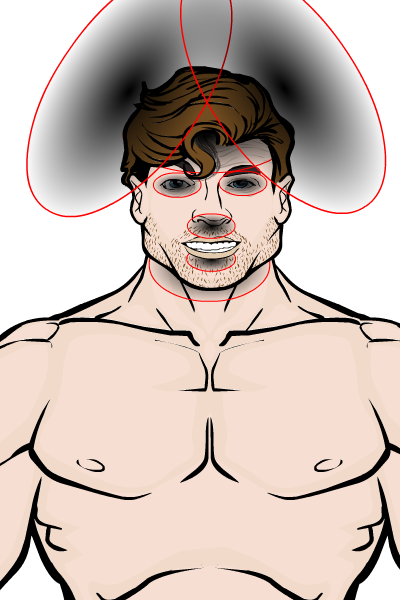
I follow the same logic for the shading on the head itself. Don't forget to shade the ears as well! The ears are not as close to the viewer as the face is. You're not making a pug here, the head and the face are not flat!
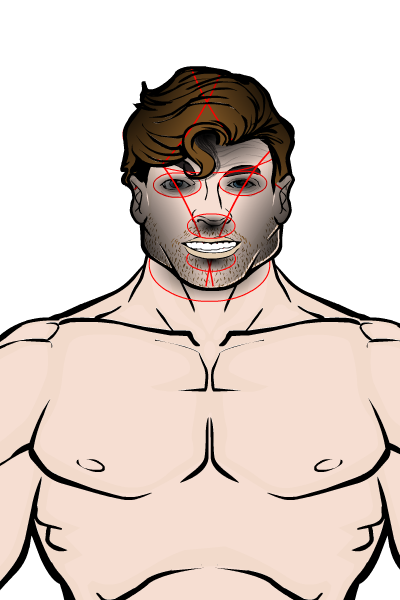
When you're done with that, you can remove the line colors and take a look at what your shading currently looks like. Hint: It looks terrible. That's okay.
What you will then start doing is adjusting the intensity of the shadows until the end result looks good.
Rules of thumb: The smaller the shadow, the lighter it should be, and vice versa. The shading should not stand out on its own, it's supposed to enchance the rest of the design!
At this point, you should also make sure that masking errors don't stand out too much. Look at the bases of the ears and the jawline on the right. The masking isn't working great there.

Here's my end result. I think it's looking alright for something I cobbled up really quickly. Could be better, could be worse! You can compare it to the pictures above and see what you think.
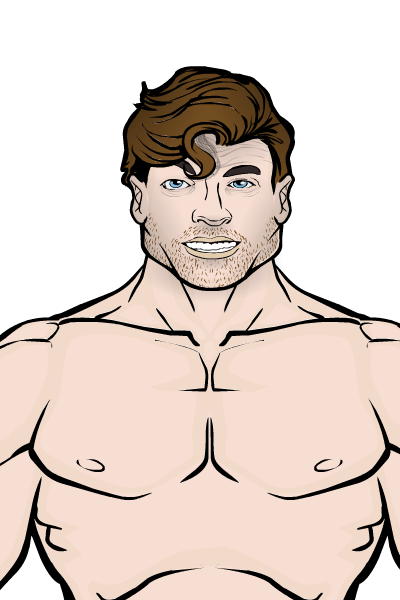
You're free to use these techniques as a starting point, but they're only that. Do your own thing, experiment and learn. Soon you'll be better than me and start teaching me instead.


