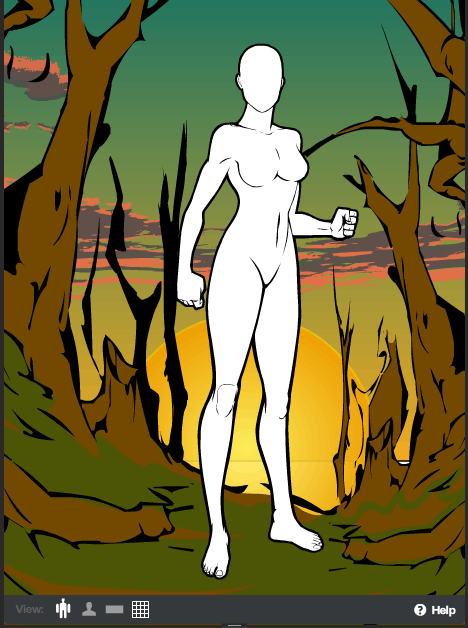
Instead of the usual Power User Profile, we have a special treat today -- Nick Hentschel has graciously put together a nifty how-to recipe for your own sunset backgrounds! I know he put a ton of work into this, so please let him know in the comments that you appreciate the effort and the willingness to share.
Note that you can click on most of these screen captures to see them at maximum size. Without further ado, I give you Nick's recipe!
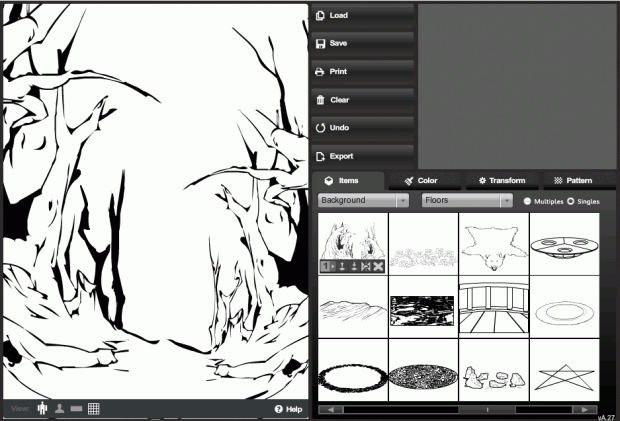
Step 1: Go to background- Floors and select the “dead trees” background.
Increase width to 115% and height to 140%.
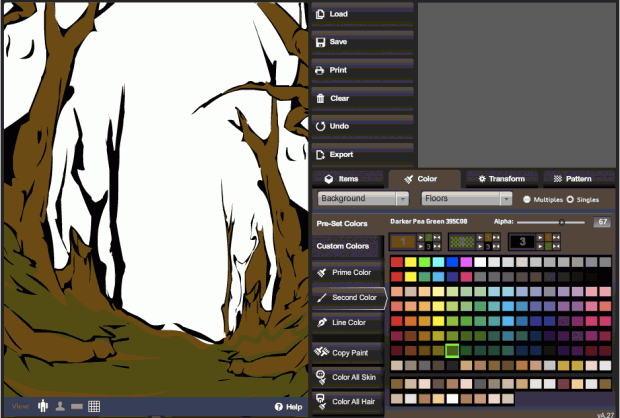
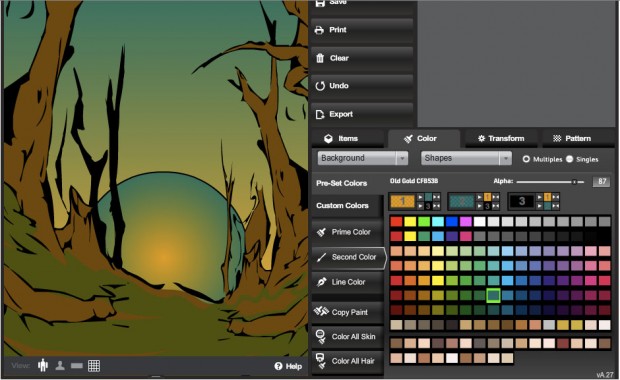
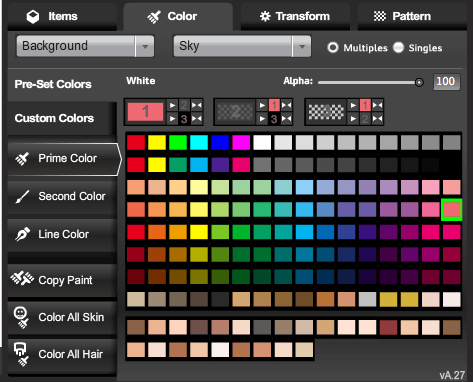
Set Primary Color to Darker Yellow Orange, and Secondary Color to Darker Pea Green. Lighten the latter color to about two-thirds (66-67%), and reposition it at (x)202-(y)208.
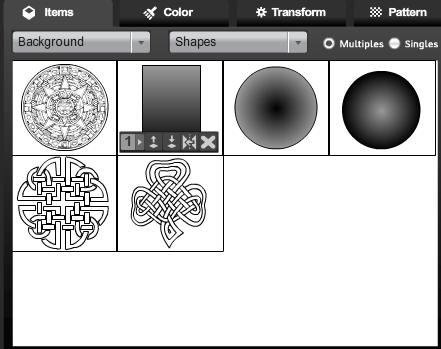
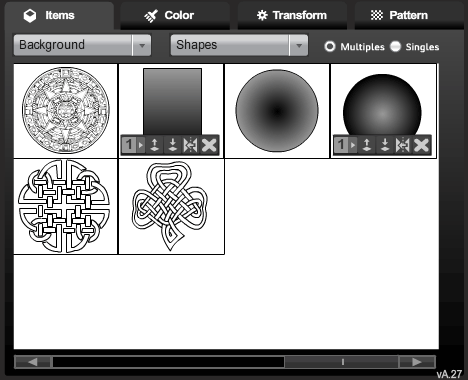
Step 2: Go to Background-Shapes and select the last, gradient rectangle (remember to set the element to “Multiples”).
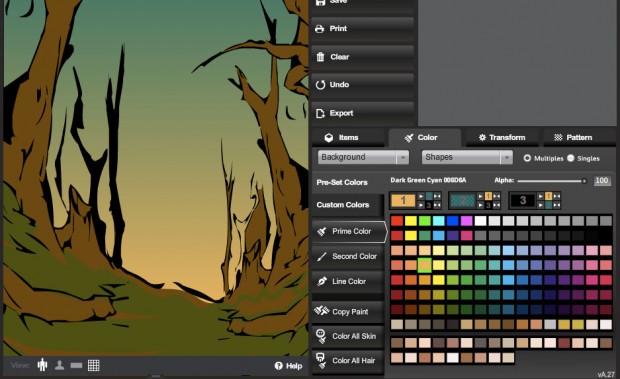
Increase x to 120% (so it will cover the whole screen), decrease height to 78% (so that it’s just barely covered by the tree background), and flip it vertically (this is very important).
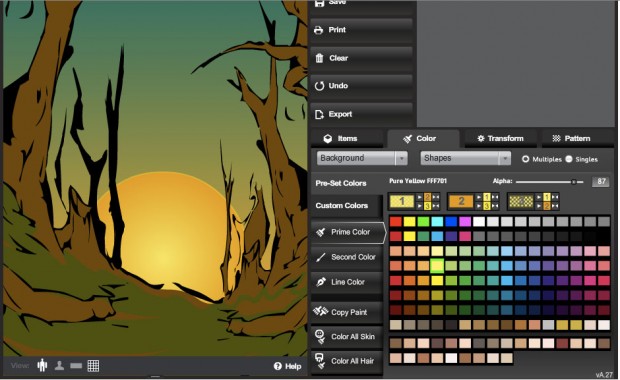
Turn the Primary Color to some light, sun-like orange color, and the Secondary to some darker color. You have plenty of options, since sunsets turn all sorts of crazy colors: shades of red, purple, blue, orange, and even green. I eventually settled on Pure Yellow Orange, and Dark Green Cyan (at 87%), respectively, giving it a greenish tint, since they set off my character well, but the sky is literally the limit! My advice is to get out there, and watch some sunsets! (Boy, does it suck to have your job!)
Re-position at (x)199-(y)270, and move the whole shebang to the back!
Step 3: Go back to Background-Shapes and pick the last, gradient circle (the one that’s darker around the edge).
Adjust the width and height to about 67%, keep it at the same layer, and position it in this little “nook,” conveniently made by the background itself!
Now, we tinker with the colors a bit: we change the Primary Color to Light Yellow, the Secondary to Pure Yellow Orange, and the Line Color to Pure Yellow, thinning it out to about one-third (33%).
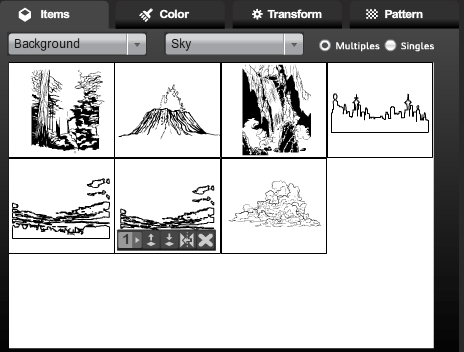
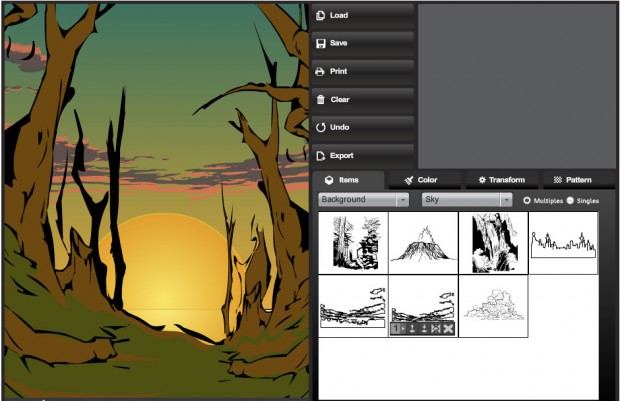
Step 4: We now go to Background-Sky, and select the horizontal-looking clouds that are the next-to-last item.
Reset both their size and position, and change their colors as follows: Primary Color to Light Magenta Red, Secondary to 75% Gray (both of which you then feather out to about 85%), and the Line Color at 0%, whatever it is.
And do feel free to flip it around; it makes the picture a little more “balanced” and symmetrical.
Now, put a character in there, and have fun!

